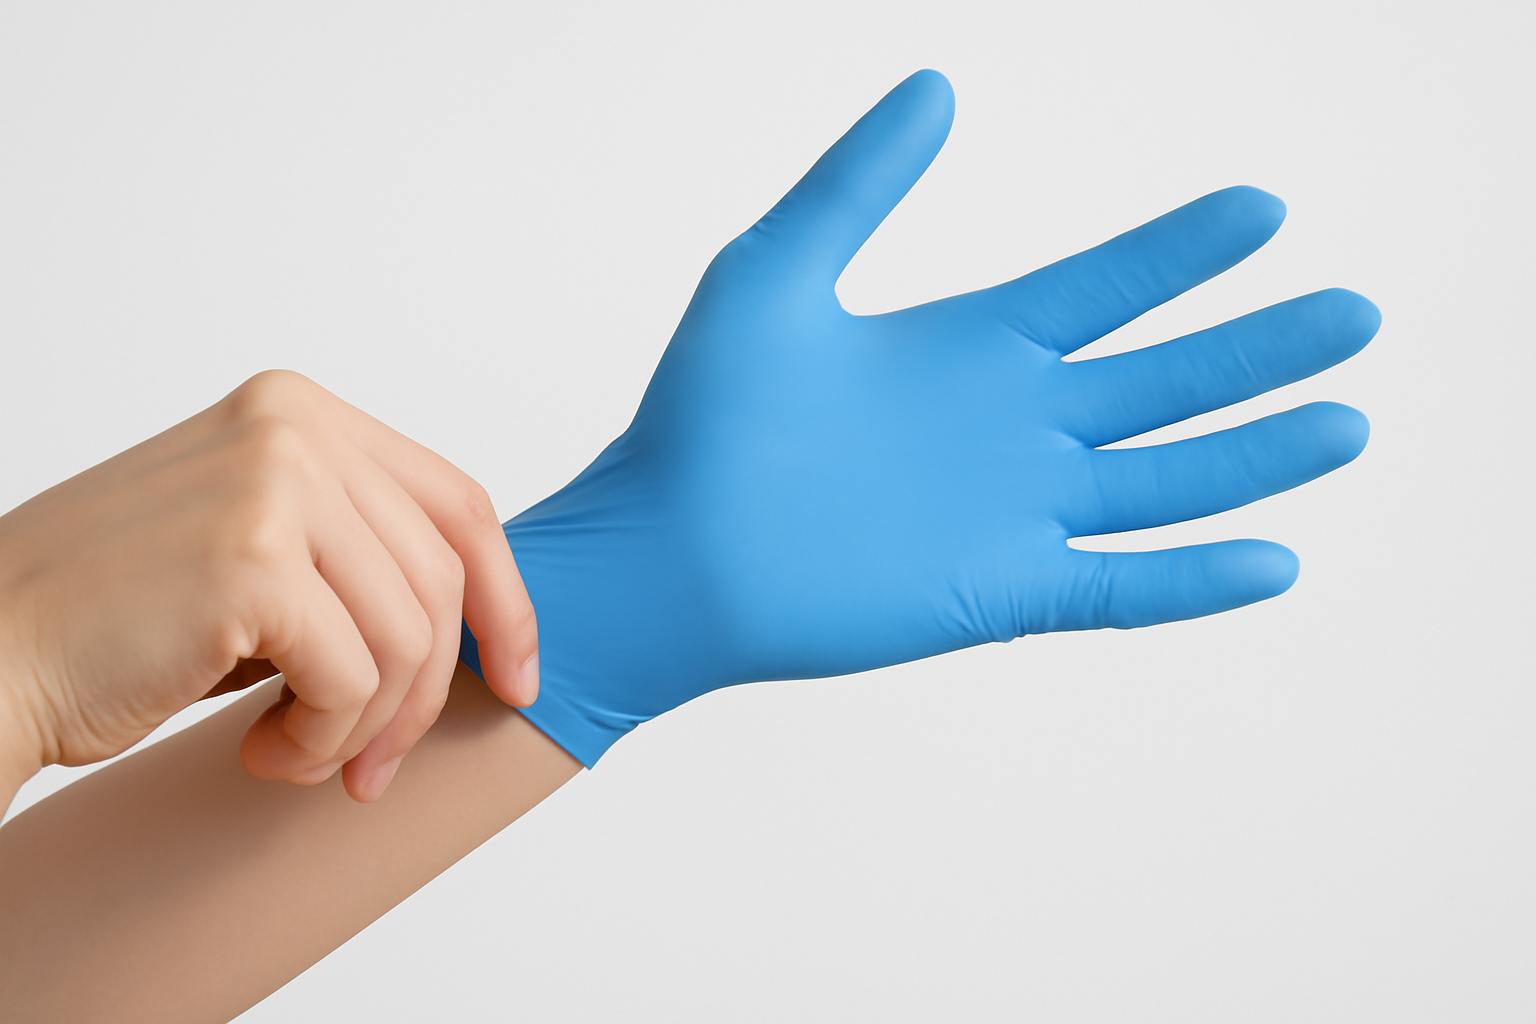
Producing cleanroom-grade nitrile gloves isn’t a simple process. Let’s take a journey through each critical phase of this process, from raw material handling to cleanroom-grade packaging.
Stage 1 – Glove Former Preparation
Before glove forming begins, ceramic or stainless-steel hand-shaped molds (called formers) are thoroughly cleaned. This involves:
-
Ultrasonic cleaning systems
-
DI (deionized) water rinsing
-
High-temperature drying
The goal is to remove any residues, particles, or previous latex layers that could compromise glove quality. In cleanroom-grade production, even microscopic contamination is unacceptable.
Stage 2 – Coagulant Dipping
The cleaned formers are dipped into a coagulant solution—typically calcium nitrate and calcium carbonate. This thin layer:
-
Helps the nitrile latex to adhere evenly
-
Affects glove thickness and uniformity
-
Plays a role in surface texture and release properties
After dipping, the formers pass through a drying zone to prepare for latex application.
Stage 3 – Nitrile Latex Dipping
Once dry, the formers are dipped into nitrile latex—a synthetic rubber compound formulated with specific additives. Key control points include:
-
Latex viscosity
-
Dipping time and temperature
-
Number of dips (single or double dipping)
This stage forms the core glove layer. For cleanroom gloves, the latex formulation must be ultra-low in ionic contaminants, plasticizers, and extractables.
High-end production lines control latex temperature within a tight range (typically 18–22°C) to prevent destabilization, ensuring that the latex coats the formers evenly and without forming bubbles or pinholes.
The dipped gloves are dried to remove excess moisture and solidify the latex film. To reinforce the glove’s opening and aid in donning, a beaded cuff is formed.
Stage 4 – Vulcanization: Strengthening the Structure
Next, the gloves are heated in a vulcanization oven. This heat-curing process (typically at 110–130°C) cross-links the rubber molecules, giving nitrile gloves their final elasticity, tensile strength, and puncture resistance.
A precisely controlled vulcanization time is critical: under-curing leads to weak gloves; over-curing results in brittleness.
Stage 5 – Online Chlorination
After vulcanization, gloves still have a sticky internal surface, making them difficult to don. To resolve this, the formers pass through an online chlorination bath—typically a dilute sodium hypochlorite solution.
This controlled reaction modifies the glove’s internal molecular structure, reducing surface tackiness and providing a smooth, powder-free finish. The gloves are then rinsed and cooled through multiple water tanks to stop the chlorination reaction and stabilize the product.
Stage 6 – Stripping: Off the Formers, Ready for Inspection
Now cooled and chlorinated, gloves are stripped from the formers using semi-automated strippers. Thanks to earlier coagulant formulations and online chlorination, the gloves come off easily and right-side-out.
Operators at this stage conduct visual inspections for defects like incomplete stripping, color inconsistencies, or physical deformities. The gloves are collected in batches for further off-line treatment and inspection.
Stage 7 – Offline Chlorination & Final Washing
To ensure both sides of the glove are equally non-tacky, gloves undergo a second round of chlorination—this time off-line. Here, gloves are tumbled in large rotating drums with carefully dosed chlorine solutions.
Once the outer surface is chlorinated, gloves are immediately washed in DI water and neutralized to remove any residual chlorine. This final rinse is vital, especially for cleanroom gloves, as it ensures low ionic and particulate contamination.
The gloves are then dried using HEPA-filtered hot air dryers and temporarily stored in clean, sealed containers.

Stage 8 – Quality Testing
Every production batch is subject to rigorous testing before it can be cleanroom certified. This includes:
-
Water Leak Test: Gloves are filled with 1 liter of water and observed for leaks under gentle squeezing.
-
Tensile Strength & Elongation: Samples are pulled on tensile machines to check break force and elasticity.
-
Particulate Testing: Conducted in clean labs using APC counters to confirm compliance with ISO Class standards.
-
NVR & Ionic Testing: Ensures gloves won’t shed hydrocarbons or ions into sensitive environments.
If even a single parameter fails, the entire batch is quarantined for reprocessing or disposal.
Stage 9 – Cleanroom Packaging
Finally, approved gloves enter an ISO Class 4 or Class 5 cleanroom for packaging. Packaging materials are just as critical as the gloves themselves. All glove pouches are tested to meet cleanroom chemical compatibility and outgassing standards. These inner wallets are pre-cleaned and double-bagged before entering the cleanroom to prevent particle ingress.
The printed labels—bearing lot number, size, expiration date, and irradiation indicators—use low-volatility, non-smearing inks, resistant to isopropyl alcohol and high humidity. Each pouch is then vacuum-sealed using impulse sealers, ensuring airtight, tamper-evident containment.
Every layer of the packaging—not just the glove—has passed non-volatile residue (NVR), particle count, and ESD tests, making the entire package safe for direct introduction into critical environments.
Conclusion
Making nitrile cleanroom gloves is not just a manufacturing task—it’s a controlled science. From chemical formulation to chlorination techniques, every detail affects glove performance in the most sensitive environments. That’s why high-end manufacturers invest in strict process control, traceability, and cleanroom-standard packing—to ensure that what reaches the customer isn’t just a glove, but a promise of purity, safety, and reliability.


